Basic Knowledge of Wall Decorative Paper Laying
Datetime:2026-6-24From: originalClick:18
Summary | A practical guide to installing wall decorative paper for beginners.
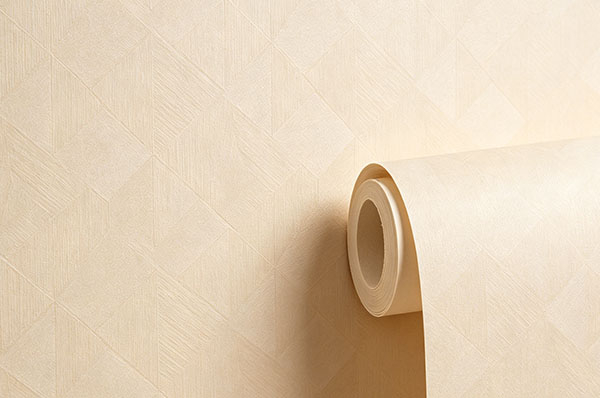
Putting decorative paper on walls can go either way. Done properly, it transforms a room in a weekend. Done poorly, it leaves bubbles, creases, and peeling edges that annoy for months. The difference comes down to preparation and patience.
What you will need
A sharp utility knife with spare blades, a sturdy straight edge, a good adhesive spreader or roller, a seam roller for flattening joints, a soft cloth, and a measuring tape. A spirit level and pencil are essential for marking out.
Surface preparation
Wall decorative paper will not hide imperfections. The surface must be clean, dry, smooth, and free of loose material. Fill cracks and holes, sand them flush, and wipe with a damp cloth. Glossy painted walls need light sanding for adhesive grip. Newly plastered walls must be fully dry, which can take weeks. Tape clear plastic to the wall for twenty-four hours as a moisture test. Porous surfaces benefit from a primer or sizing solution to prevent adhesive soaking in too quickly.
The laying process
Mark a vertical guideline with your spirit level. This is critical for the first strip. Cut your first piece with five centimetres extra top and bottom for trimming. Apply adhesive per the instructions. Some papers need wall application; others need back application. Work from the centre outwards to avoid air bubbles. Position against your guideline and press gently from top down. Smooth with a soft cloth from centre to edges. Never stretch the paper as it will shrink back when drying.
Common problems
Air bubbles can be worked out towards the nearest edge if the adhesive is still wet. If dried, prick with a needle and inject adhesive behind before pressing flat. Peeling edges come from insufficient edge adhesive. Apply right to the edges and use a seam roller firmly. Pattern misalignment comes from rushing. Match each strip carefully and order ten to fifteen percent extra for pattern matching waste.





 Location: